Badminton Scoreboard
Prototype #2
Since I made the first prototype a few months ago, I’ve developed quite a liking for Seeed Studio’s Grove system. It’s ideal for rapidly prototyping an idea and, even more usefully, is a lot easier to get something usable in the real world than starting with a breadboard. So, rather than committing the first prototype to protoboard, I thought I’d remake it with Grove modules and see what happens.
Grove Modules
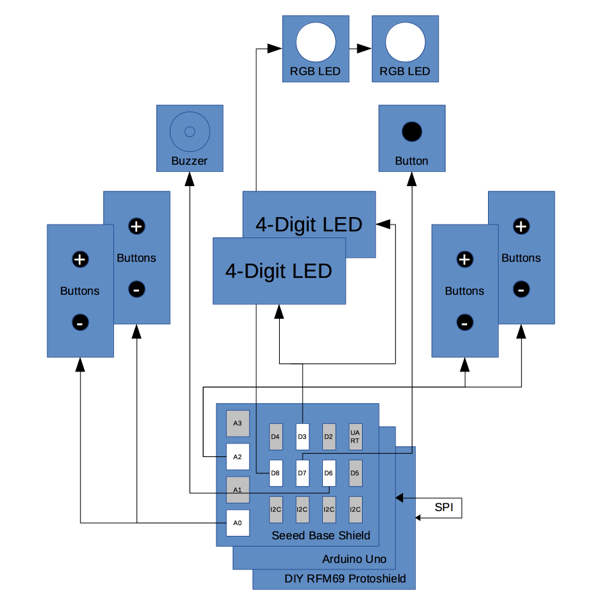
Here’s an outline of how the modules will be connected:
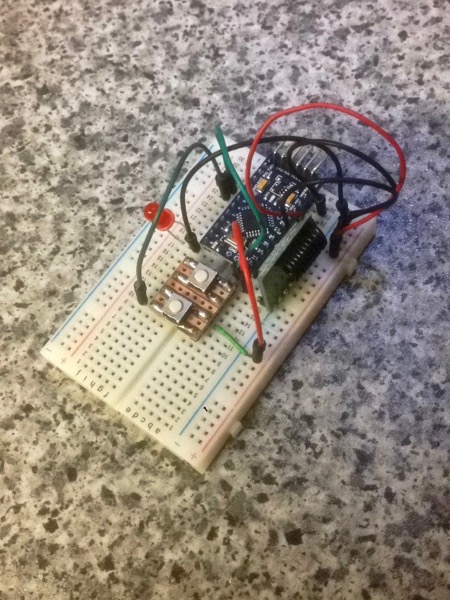
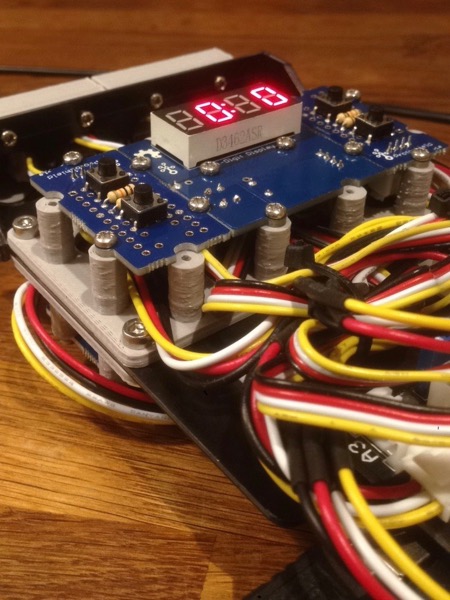
I didn’t have enough button modules and I was a bit reluctant to order 8 of them so I got 4 Protoshields and made them up with 2 tactile buttons each instead, saving myself some money. With a reduction in the number of pins used for the RGB LEDs and 7 segment displays to 2 wires each, I was able to allocate a pin to each of the inc/dec buttons rather than the divider/analogRead approach I took in the first prototype. After these button shields were made, it only took a few minutes to wire everything up.
Updating the code to work with the new modules took a little longer. I ran into an issue with Seeed’s recommended 7 segment display library causing a crash but I found an alternative which worked fine. I suspect it was timing-related as the library worked fine on its own.
Radio Module
The Grove system offers a few radio options. I didn’t want to spend a fortune on a full-featured system so that left me with the basic one-way 433MHz option. Sadly these proved too unreliable in testing so I ended up stepping outside the Grove ecosystem and used the RMF69 modules from the first prototype. The Grove shield doesn’t use the Arduino’s SPI pins so I was also able to bring the radio functionality back into the main code.
Case
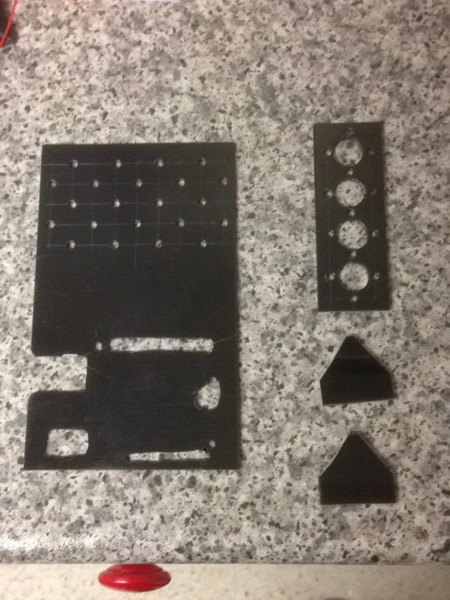
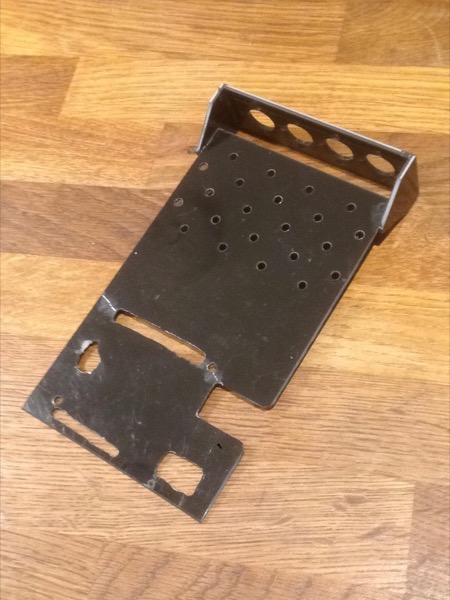
I use the word “case” very loosely - it’s more of a mounting frame to hold everything together. I cut some Plasticard offcuts to a suitable size, glued them together and designed a few 3D-printable mounts to hold the Grove modules. Here are some photos:

Power Supply
The easiest solution to a power supply for this prototype was to use a portable USB powerbank I’ve had lying around for years. It’s small, has plenty of capacity and charges quickly so is perfect for a project like this. For extra prototype kudos, it’s attached to the mounting frame with a couple of rubber bands.
Post Mount
The main unit needs to mount to the free-standing vertical net posts which our local sports centre uses. The posts have a diameter of 58mm and there’s a cord to avoid too. Here are a couple of photos of the post:
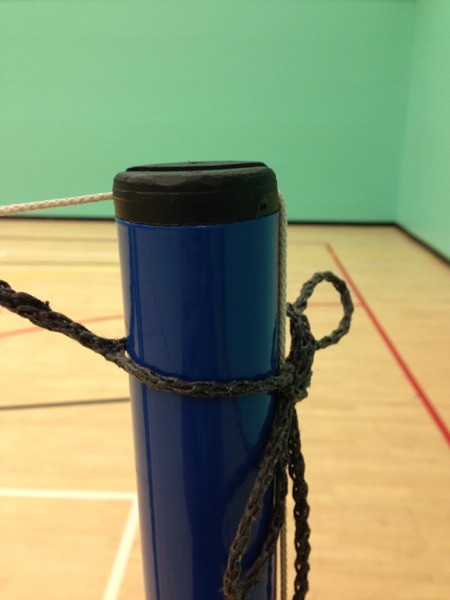
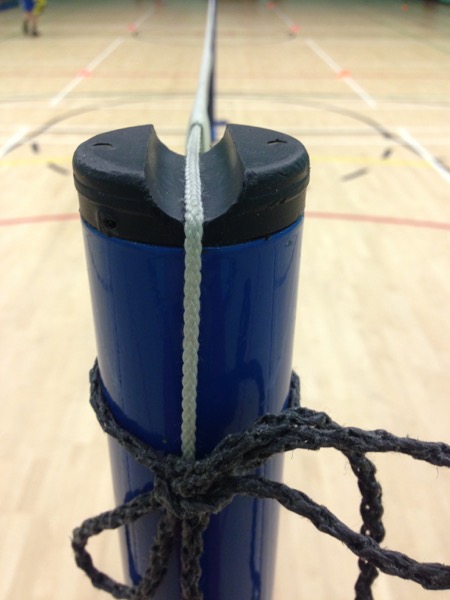
I designed some 3D-printed parts to fit to this and used some elastic cord to hold the unit in place.
Result
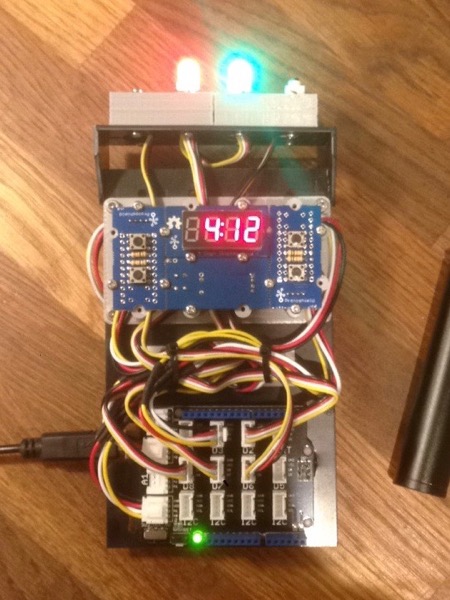
Here’s a photo of the finished prototype in situ:
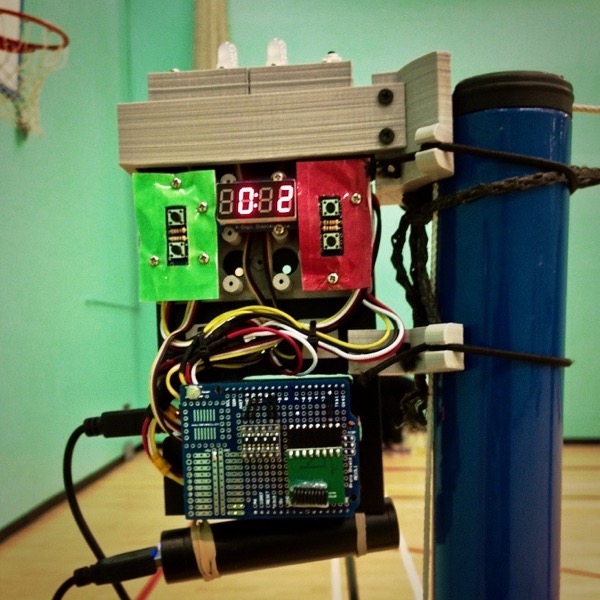
Overall, I’ve been really pleased with the outcome. It might look a bit Heath-Robinson but, most importantly, it works. I found the Grove system really good for building the prototype. Not having to think about things like wiring of individual components at this stage meant I could concentrate on functionality and the interlocking modules meant I could print a standard mounting frame and attach the things I needed, turning it into a usable unit without messing about with large prototyping boards.
Initial feedback is that it makes it much easier to track scores reliably, enabling everyone to concentrate on playing, so we’ll be using it for a while to get a feel for how it could be improved and I’ll then work on a more permanent version with a proper case.
Resources
Posted on 03 February 2018