MeArm Robotic Arm
Building the MeArm
The instructions for building the MeArm are excellent so I won’t reiterate them here. Instead, I’ll cover the issues I encountered while not using the approved hardware and provide a summary of my first thoughts on the product.
Build
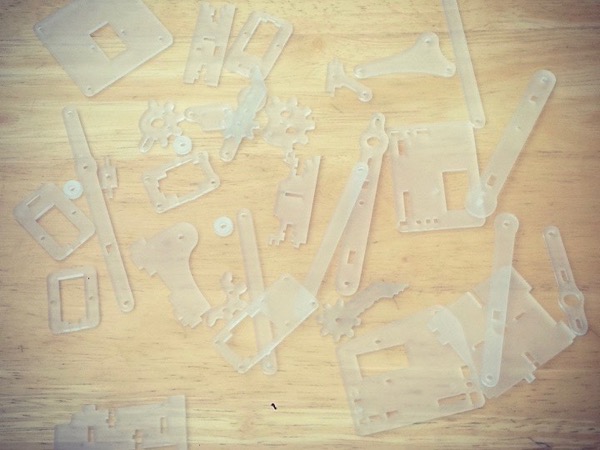
When the acrylic parts arrived in the post I couldn’t resist the temptation to get on with the build. The seller said in his eBay listing that he wasn’t sure if all the pieces were present and it turned out that two pieces were missing: the main base and an arm divider. The base is fairly important but only needs to be a flat surface with holes drilled to match the arm’s mounting platform. I made a simple base out of some spare acrylic sheet cut by hand with a fine-toothed wood saw, finished with some sandpaper and drilled using a simple paper guide. The arm divider turned out to be non-essential so I just ignored it.
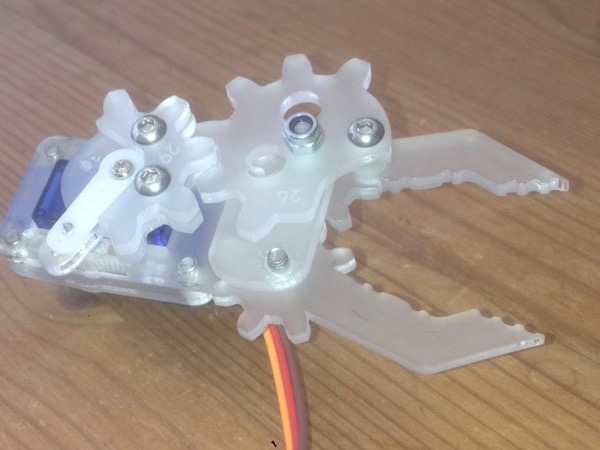
The screws supplied with the official kit are self-tapping and the acrylic parts are obviously cut to suit this construction method. I didn’t have any of these so I planned to use standard M3 machine screws. Initially, I tried to tap a couple of holes directly with the screw but that didn’t work out well. Acrylic is very brittle and, being such small parts, also quite weak. Thankfully the broken parts were on the back of the claw body and weren’t load-bearing so I was able to glue them back together with superglue and proceed with the rest of the build. You can just about see the cracks in this photo:
I ended up carefully widening the smaller holes with a drill bit and then threading them with an M3 tap, using superglue at a few critical points to ensure the threads held securely. Total assembly time was about four hours but, with the exception of those early breakages, was uneventful. I suspect it would have been nearer two hours if I’d had the proper kit.
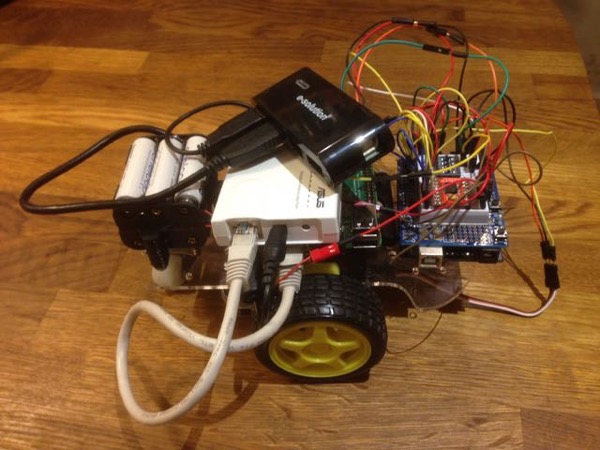
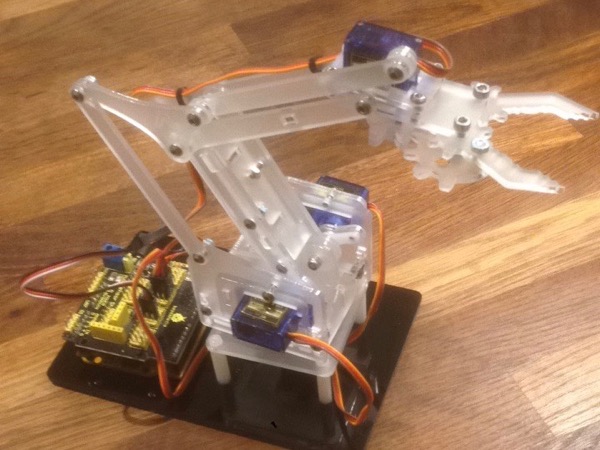
To complete the build, I added an Arduino Uno clone, a basic servo shield and some rubber feet.
Code
I’ve got a number of ideas for experiments with this arm but, first things first: let’s get it moving. I connected a pair of thumb joysticks from an old project to the sensor shield and uploaded the following code to give me direct manual control over all three axes and the claw:
#include <Servo.h>

Servo claw;
Servo base;
Servo shoulder;
Servo elbow;

int clawrange[] = {90, 170};
int clawstate = 0;
long lastclaw = 0;
int clawbtnstate = 0;
int clawdelay = 50; //ms

int clawpin = 5;
int basepin = 9;
int shoulderpin = 10;
int elbowpin = 11;

int clawbtnpin = 4;
int basepotpin = 0;
int shoulderpotpin = 1;
int elbowpotpin = 2;

long lastmove = 0;
int movedelay = 15;

int val;

void setup() {
  pinMode(clawbtnpin, INPUT_PULLUP);

  claw.attach(clawpin);
  base.attach(basepin);
  shoulder.attach(shoulderpin);
  elbow.attach(elbowpin);

  claw.write(clawrange[clawstate]);
  base.write(90);
  shoulder.write(90);
  elbow.write(90);
}

void loop() {
  long now = millis();

  if (now > lastclaw + clawdelay) {
    int clawbtnpressed = digitalRead(clawbtnpin) == LOW;

    if (clawbtnpressed && !clawbtnstate) {
      clawstate = !clawstate;
      claw.write(clawrange[clawstate]);
      clawbtnstate = 1;
    } else if (!clawbtnpressed) {
      clawbtnstate = 0;
    }

    lastclaw = now;
  }

  if (now > lastmove + movedelay) {
    val = analogRead(basepotpin);
    val = map(val, 0, 1023, 150, 30);
    base.write(val);

    val = analogRead(shoulderpotpin);
    val = map(val, 0, 1023, 150, 30);
    shoulder.write(val);

    val = analogRead(elbowpotpin);
    val = map(val, 0, 1023, 150, 30);
    elbow.write(val);

    lastmove = now;
  }
}
Here’s a short video of the arm running the code:
Conclusion
The MeArm is very affordable (even the full retail kit) and is easy and fun to build. It also has lots of potential as a learning and experimenting platform in spite of its diminutive size. On the down-side, it’s probably a bit too small to do anything particularly practical with and, having only three axes, I suspect I’ll eventually move on to something more substantial. In the meantime, however, it’ll be a great platform to start learning inverse kinematics or to play with simpler robotic software like Johnny Five. It may even provide a simple way to get started with ROS/MoveIt.
Resources
- Mime Industries: MeArm build instructions
Posted on 12 November 2017