Land Rover Restoration
Nearside Front Rail Finished (Day 3)
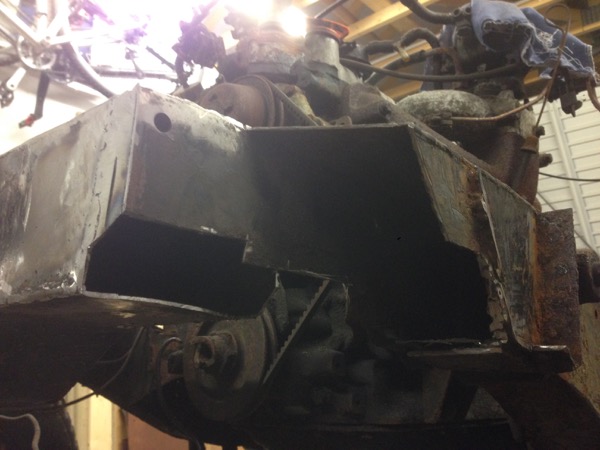
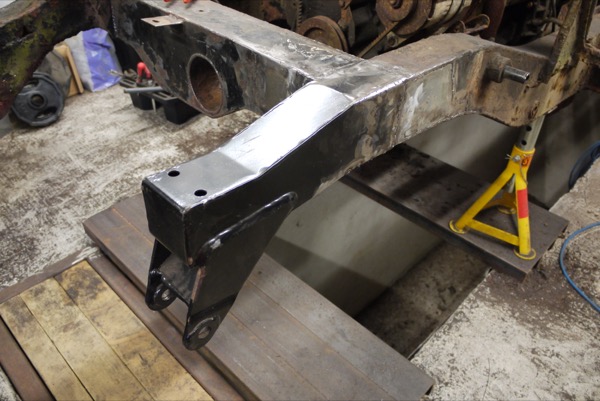
Carrying on with the nearside front rail from the last post, I fitted a couple of internal strengthening plates under the top and outside welds then cut, shaped and welded the bottom plate. It all went together fairly quickly and looks like this:
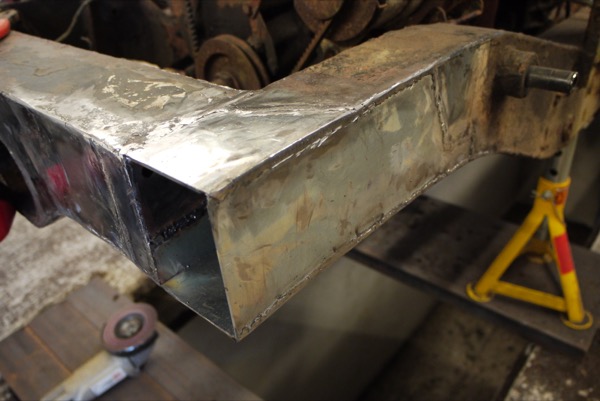
There are still a few beads to finish but they’re in areas which are awkward to reach or weld, so I’m planning on tacking them firmly in place and then coming back to them after I’ve removed the engine.
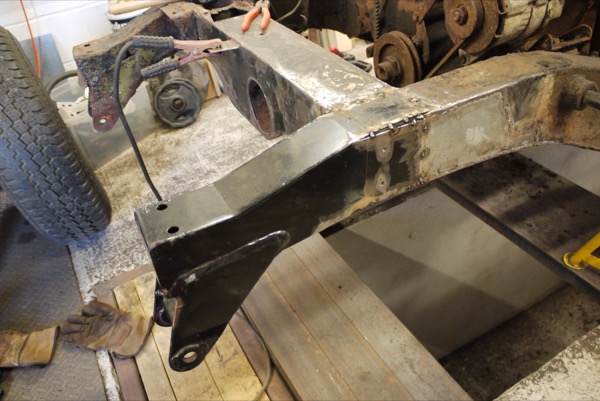
In the meantime, I can get on with fitting the front hanger. The pre-fabricated part is about 1cm too wide - not my fault, it’s also bigger than its opposite side (Britpart have the nickname “Shitpart” for a reason) - so I had to make some adjustments. Here it is, tacked in place after all the cutting:
And here it is (mostly) welded from various angles (note the extra plug welds on the outside to provide additional support):
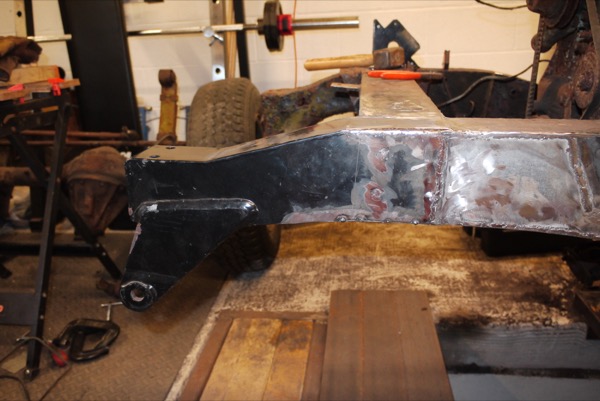
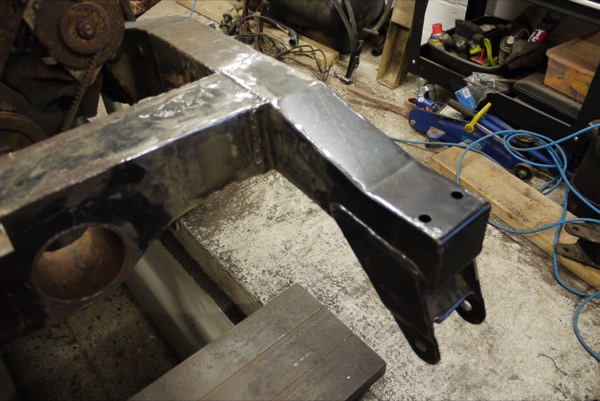
As with the main rail repairs, there are some bits which I’ll need to come back to but this is effectively finished now.
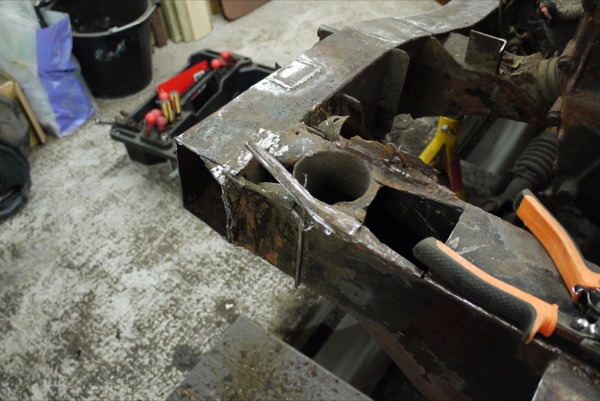
Now I’m moving on to the offside front rail. Thankfully, after removing the old front hanger, it doesn’t look like there’s much repair work to do on the main rail other than patching up a thin area on the outer edge of the underside:
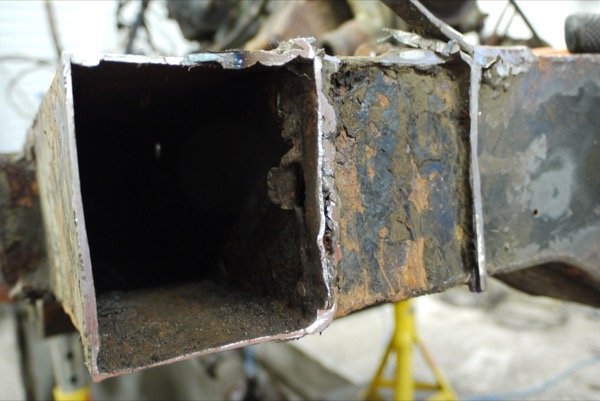
I’ll cut it back to good steel, weld in a plate and that should be it. The bigger task is the repair to the front crossmember around the steering relay tunnel - it’s going to require some precise cutting.
Posted on 22 March 2015