Land Rover Restoration
Nearside Front Rail (Day 2)
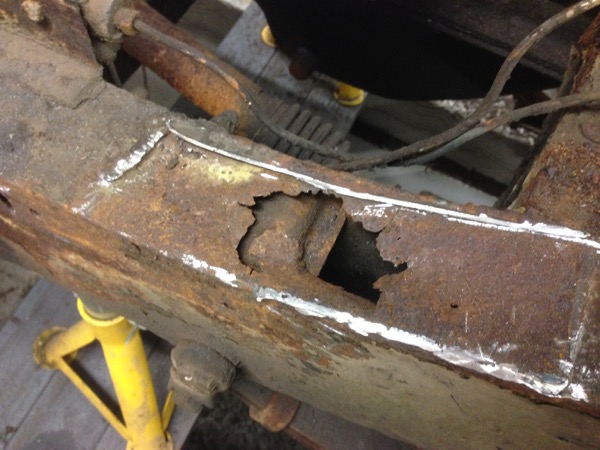
With the front offside patching finished, I’m back to the nearside reconstruction. Here’s a reminder of where I left it:
The big challenge with reconstructing this is to make it strong enough to stand up to being the load-bearing part of the front suspension. Each side has been staggered to spread the load into the existing chassis parts and I’ve cut the outside plate to join at an angle. I’ll also be adding internal strengthening plates behind the top and side joins for extra strength.
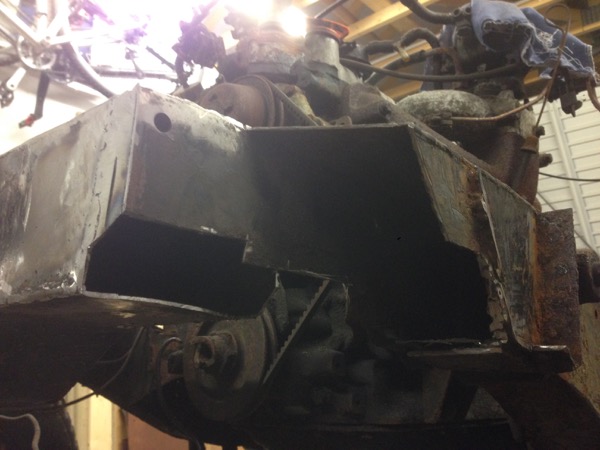
First, I built out the front crossmember, tacking the welds.
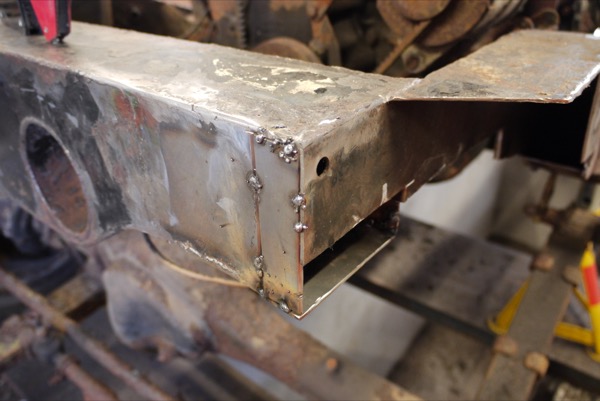
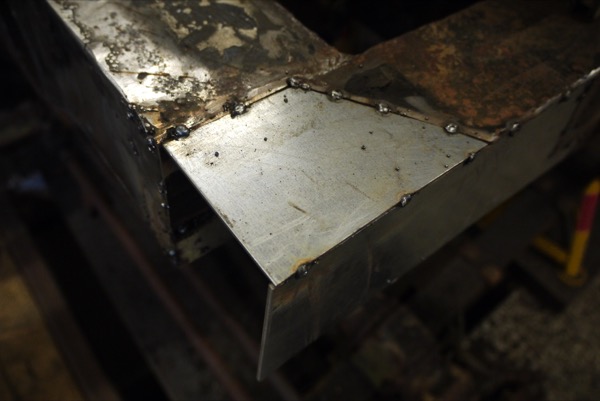
Next up was the inside plate. I cut a template out of cardboard to get the shape right before transferring to 2.5mm steel plate. It’s tacked in this photo but I’ve since welded the complete bead on the raised left hand part as it’ll be inside the main rail when I’ve finished.
The outside side plate was next. This matches the shape of the inside, using the same template to ensure the lower curve was identical.
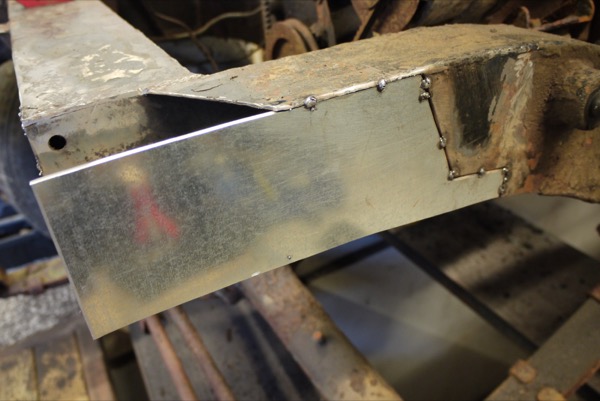
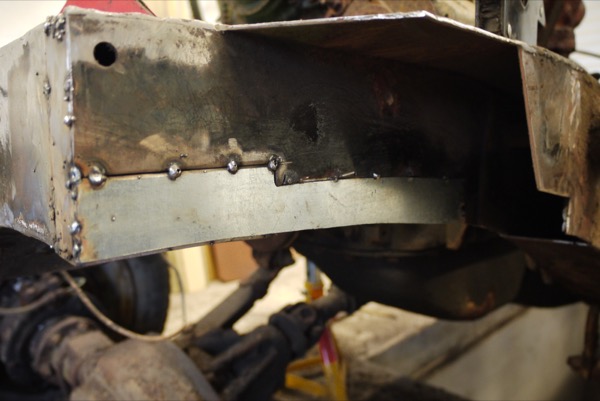
Finally, today, was the top plate. This was cut to sit over the side plate as the original would have done. I’ve tried to do this with every top plate so far, but it’s especially important here for extra strength.
Everything is tacked in place, ready to be welded after I’ve added the internal strengthening plates and the lower plate. Then it’s on to attaching the pre-fabricated front hanger.
Posted on 13 March 2015