Land Rover Restoration
Offside Rail Repairs (Day 3)
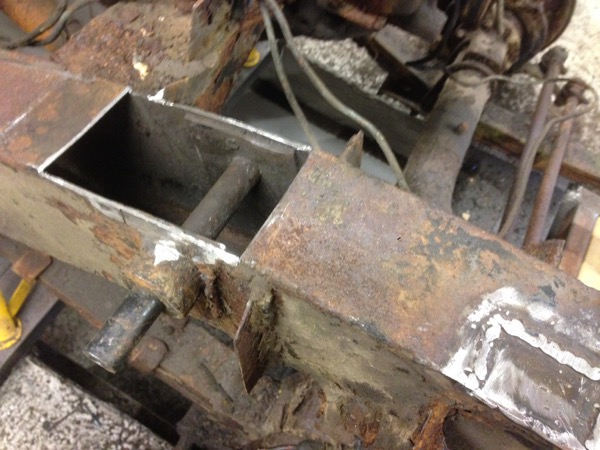
Time to do the big patch along the top of the front offside rail. In case you need a reminder, here’s how it looked before I started:
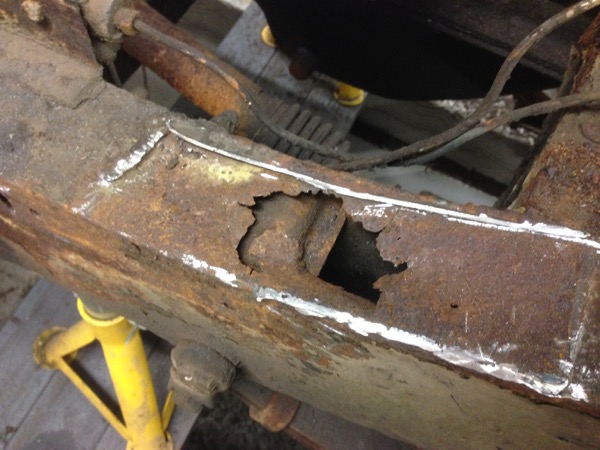
After cutting back to good steel, it ended up needing a 40cm long, full width plate along the top, one reasonable-sized patch on the side and a postage stamp-sized one a bit further up where a small area of rust had done just enough damage to make a blow-through likely while welding the top plate. You can just about make out the larger side plate in this photo (hint: it’s L-shaped and the left edge goes up at an angle):
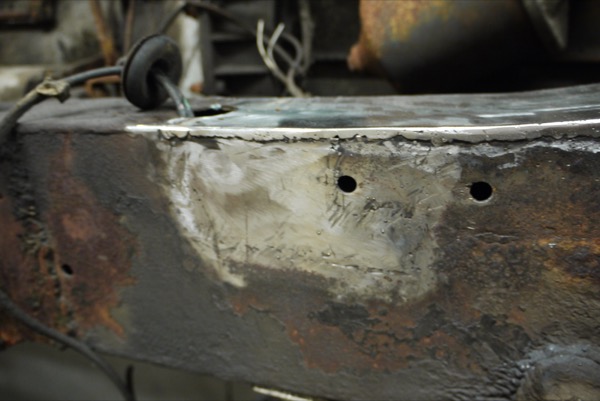
And here’s the whole thing - the postage stamp-sized patch is about half way along:
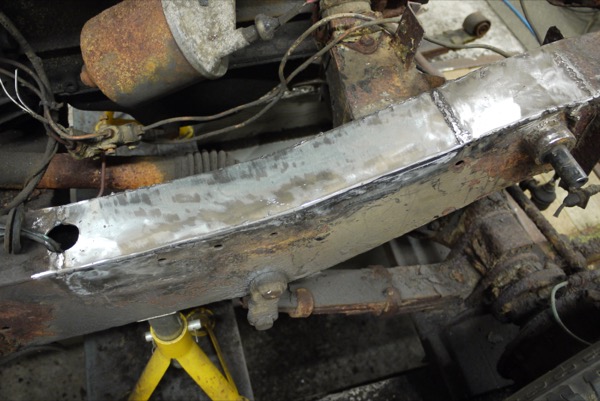
With such a large amount of the top of the rail cut away, it gave me a good opportunity to look along the section under the cab … and it ain’t pretty - lots of large lumps of rust flaking away from the bottom and signs of rot all along the lower edge. I’m going to leave that for now but I suspect I’ll be cutting out and replacing the entire bottom section on at least this side - going by current experience, probably both sides.
There are times when I have to question my own sanity by continuing this project :D
Posted on 09 March 2015