Mostly Printed CNC
Waste Board and Actual Cutting ...
The first set of carbide milling bits arrived so, as I’m on holiday and the weather’s too wet to do the planned gardening, I decided to have a go at cutting something to see how this thing performs. Before I could get on with cutting, of course, I needed to sort out the waste board situation after my original plan for that turned out to be slightly flawed.
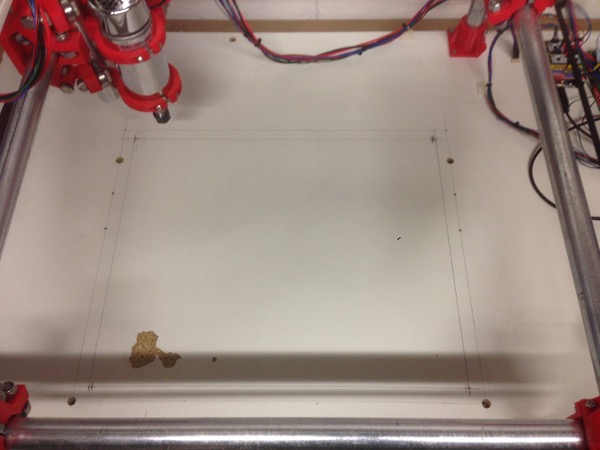
Instead of gluing, I’ve decided to bolt a waste board to the CNC base. This means I’ll have less flexibility with regards to using odd scraps to suit the piece I’m cutting and I’ll have to spend a little more time preparing new waste boards when I need them but I’m hoping I won’t need to do it too often. The only scrap plywood I had lying around was narrower than the maximum work area so it occurred to me to provide holes for diffent sizes of waste board. Here’s the base drilled for the holes I needed today and with pilot holes for the rest (because my cordless drill ran out).
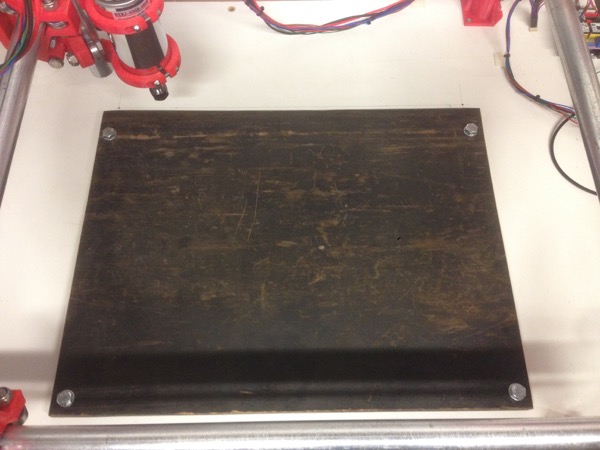
And with the prepared waste board held in place using some M8 hardware from my old Prusa i2 build.
After this was bolted in place, I grabbed some old scrap copper-clad boards (not glassfibre-based) and attached one firmly to the new waste board with some small screws.
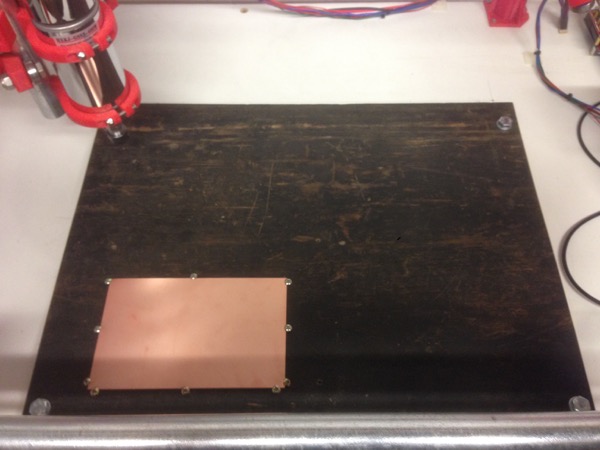
To do the testing, I designed a simple plate on Easel and proceeded to run the resulting G-code. All four attempts failed due to tool chatter, although it was greatly reduced as I lowered the feed rate and layer height. The spindle motor’s specs say that at 12V, it’s only running at a maximum of 120W so my first guess is that it’s too under-powered. To test that, I’ve ordered a 48V/480W PSU which should be here by the weekend. I’m also expecting a few more cutting bits with a coarser cutting profile so it’ll be interesting to see how both of these things affect performance.
Posted on 02 August 2016
