Reprap Prusa i2
Various improvements
As you can imagine, now the printer’s actually working and producing half-decent prints, I’ve been looking for useful things to print. And what’s the first thing any self-respecting Reprap owner’s going to print once they’ve got it working? New, improved parts for it, of course :D
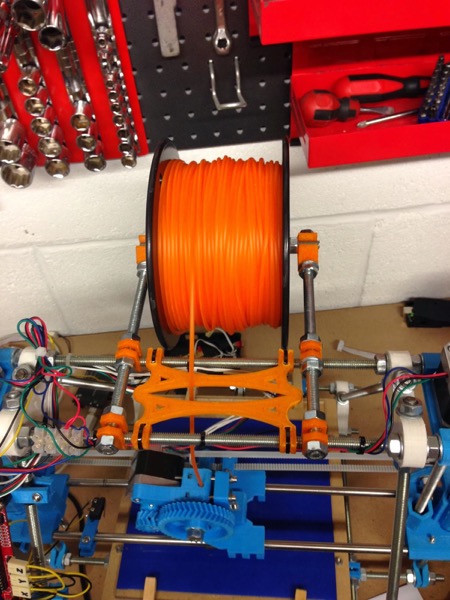
Frame Braces
As I mentioned in my last post, there’s a bit of side-to-side wobble in the frame. There are a few designs for frame braces on Thingiverse to solve this issue. I particularly liked thing #39422 because the braces attach firmly with screws rather than the more common zip ties and they go on the outside of the frame to avoid interfering with the extruder. They’ve certainly stiffened up the frame and I’ve noticed that prints have straighter sides as a result.
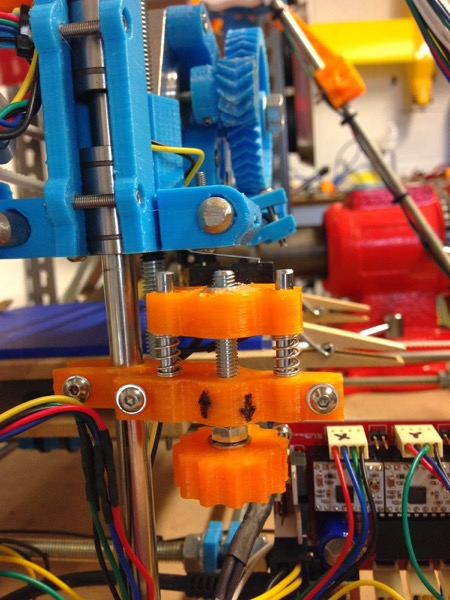
Z-axis End Stop Adjuster
I’ve found that adjusting the print bed height/level is a frequent and rather tedious chore. Ideally, the levelling would be done separately from the height adjustment as you don’t always need to do both at the same time, but both tasks are currently handled by the same adjustment screws. There are quite a few alternatives on Thingiverse to handle height adjustment and I opted for thing #34666 because it looks sturdy, fits my printer and I had all the extra hardware I needed to make it.
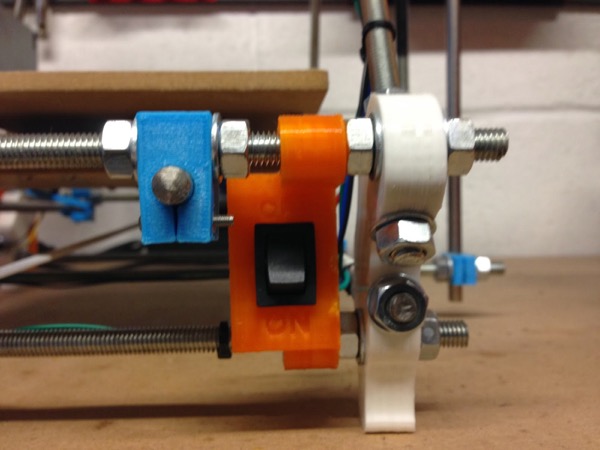
Switch Panel
Having the power switch laying about on the workbench on the end of a couple of bits of wire is no good. Thing #57648 is a simple item - quickly printed and fitted - which makes a lot of difference to how ‘finished’ the printer looks.
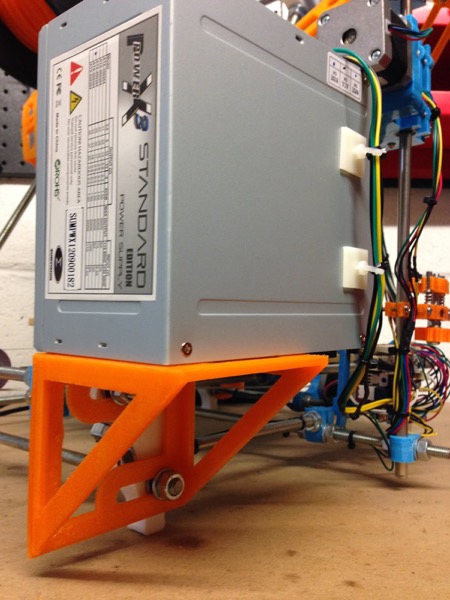
PSU Mount
The PSU was the last item which wasn’t mounted to the frame, meaning I needed to remove it or support it separately whenever I moved the printer. There are quite a few mounts on Thingiverse but the variety of PSU and printer types out there is enormous and a lot didn’t look like they’d fit mine. In the end, I settled on thing #20798 which fits perfectly. It seems a little flimsy so it’ll be interesting to see how long it survives but it’s a start. Hopefully, by the time I need another, I’ll be on a different printer type with either more space for mounting large items or a smaller PSU.
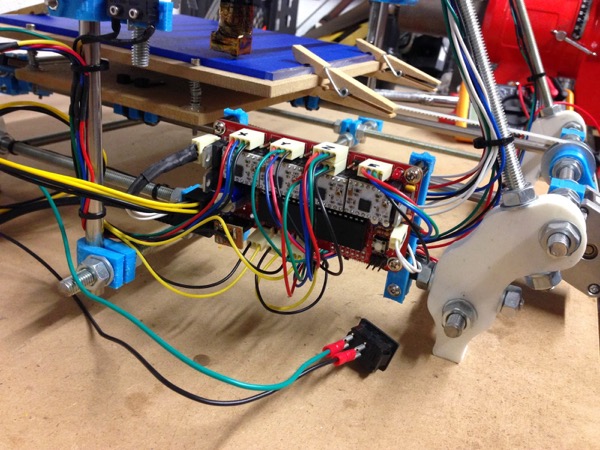
Re-organising Electronics
With all these things going onto the frame, it made sense to clean up the messy wiring. I’ve got a bit more of an idea of how the printer hangs together now and a few changes had already occurred to me so I stripped everything off and started afresh. The Sanguinololu is now mounted on the left side, just in front of the PSU. This change really helped with cleaning up the wiring and brings the majority of the electronics much closer together while still remaining accessible. Here’s a photo of the board in its new location:
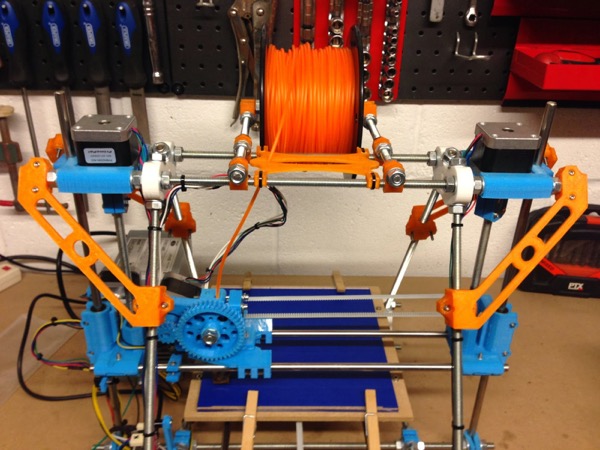
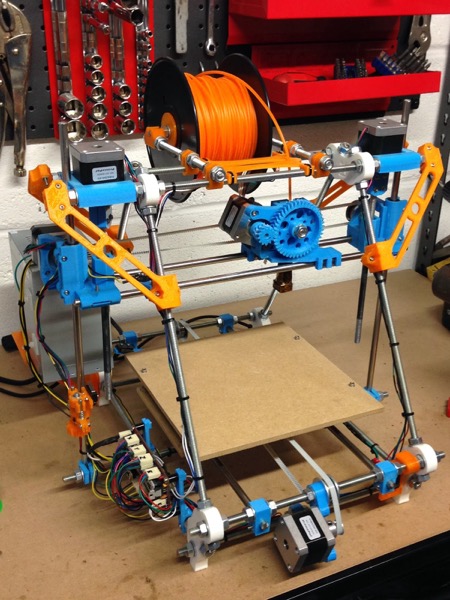
The printer is now looking much neater and is easier to move around. There are still improvements to be made to the Y carriage to reduce unwanted movement and the perspex sheet I’ve been using as a temporary print plate has started to bend, causing problems with the first layers of prints. I’ve also found that some larger prints are distorting during printing - a known issue and easily resolved by fitting a heated print bed. These are the next problems to address, which I plan to do after pay day. I’ll leave you with a photo of the whole thing in its current state:
Posted on 15 November 2013